
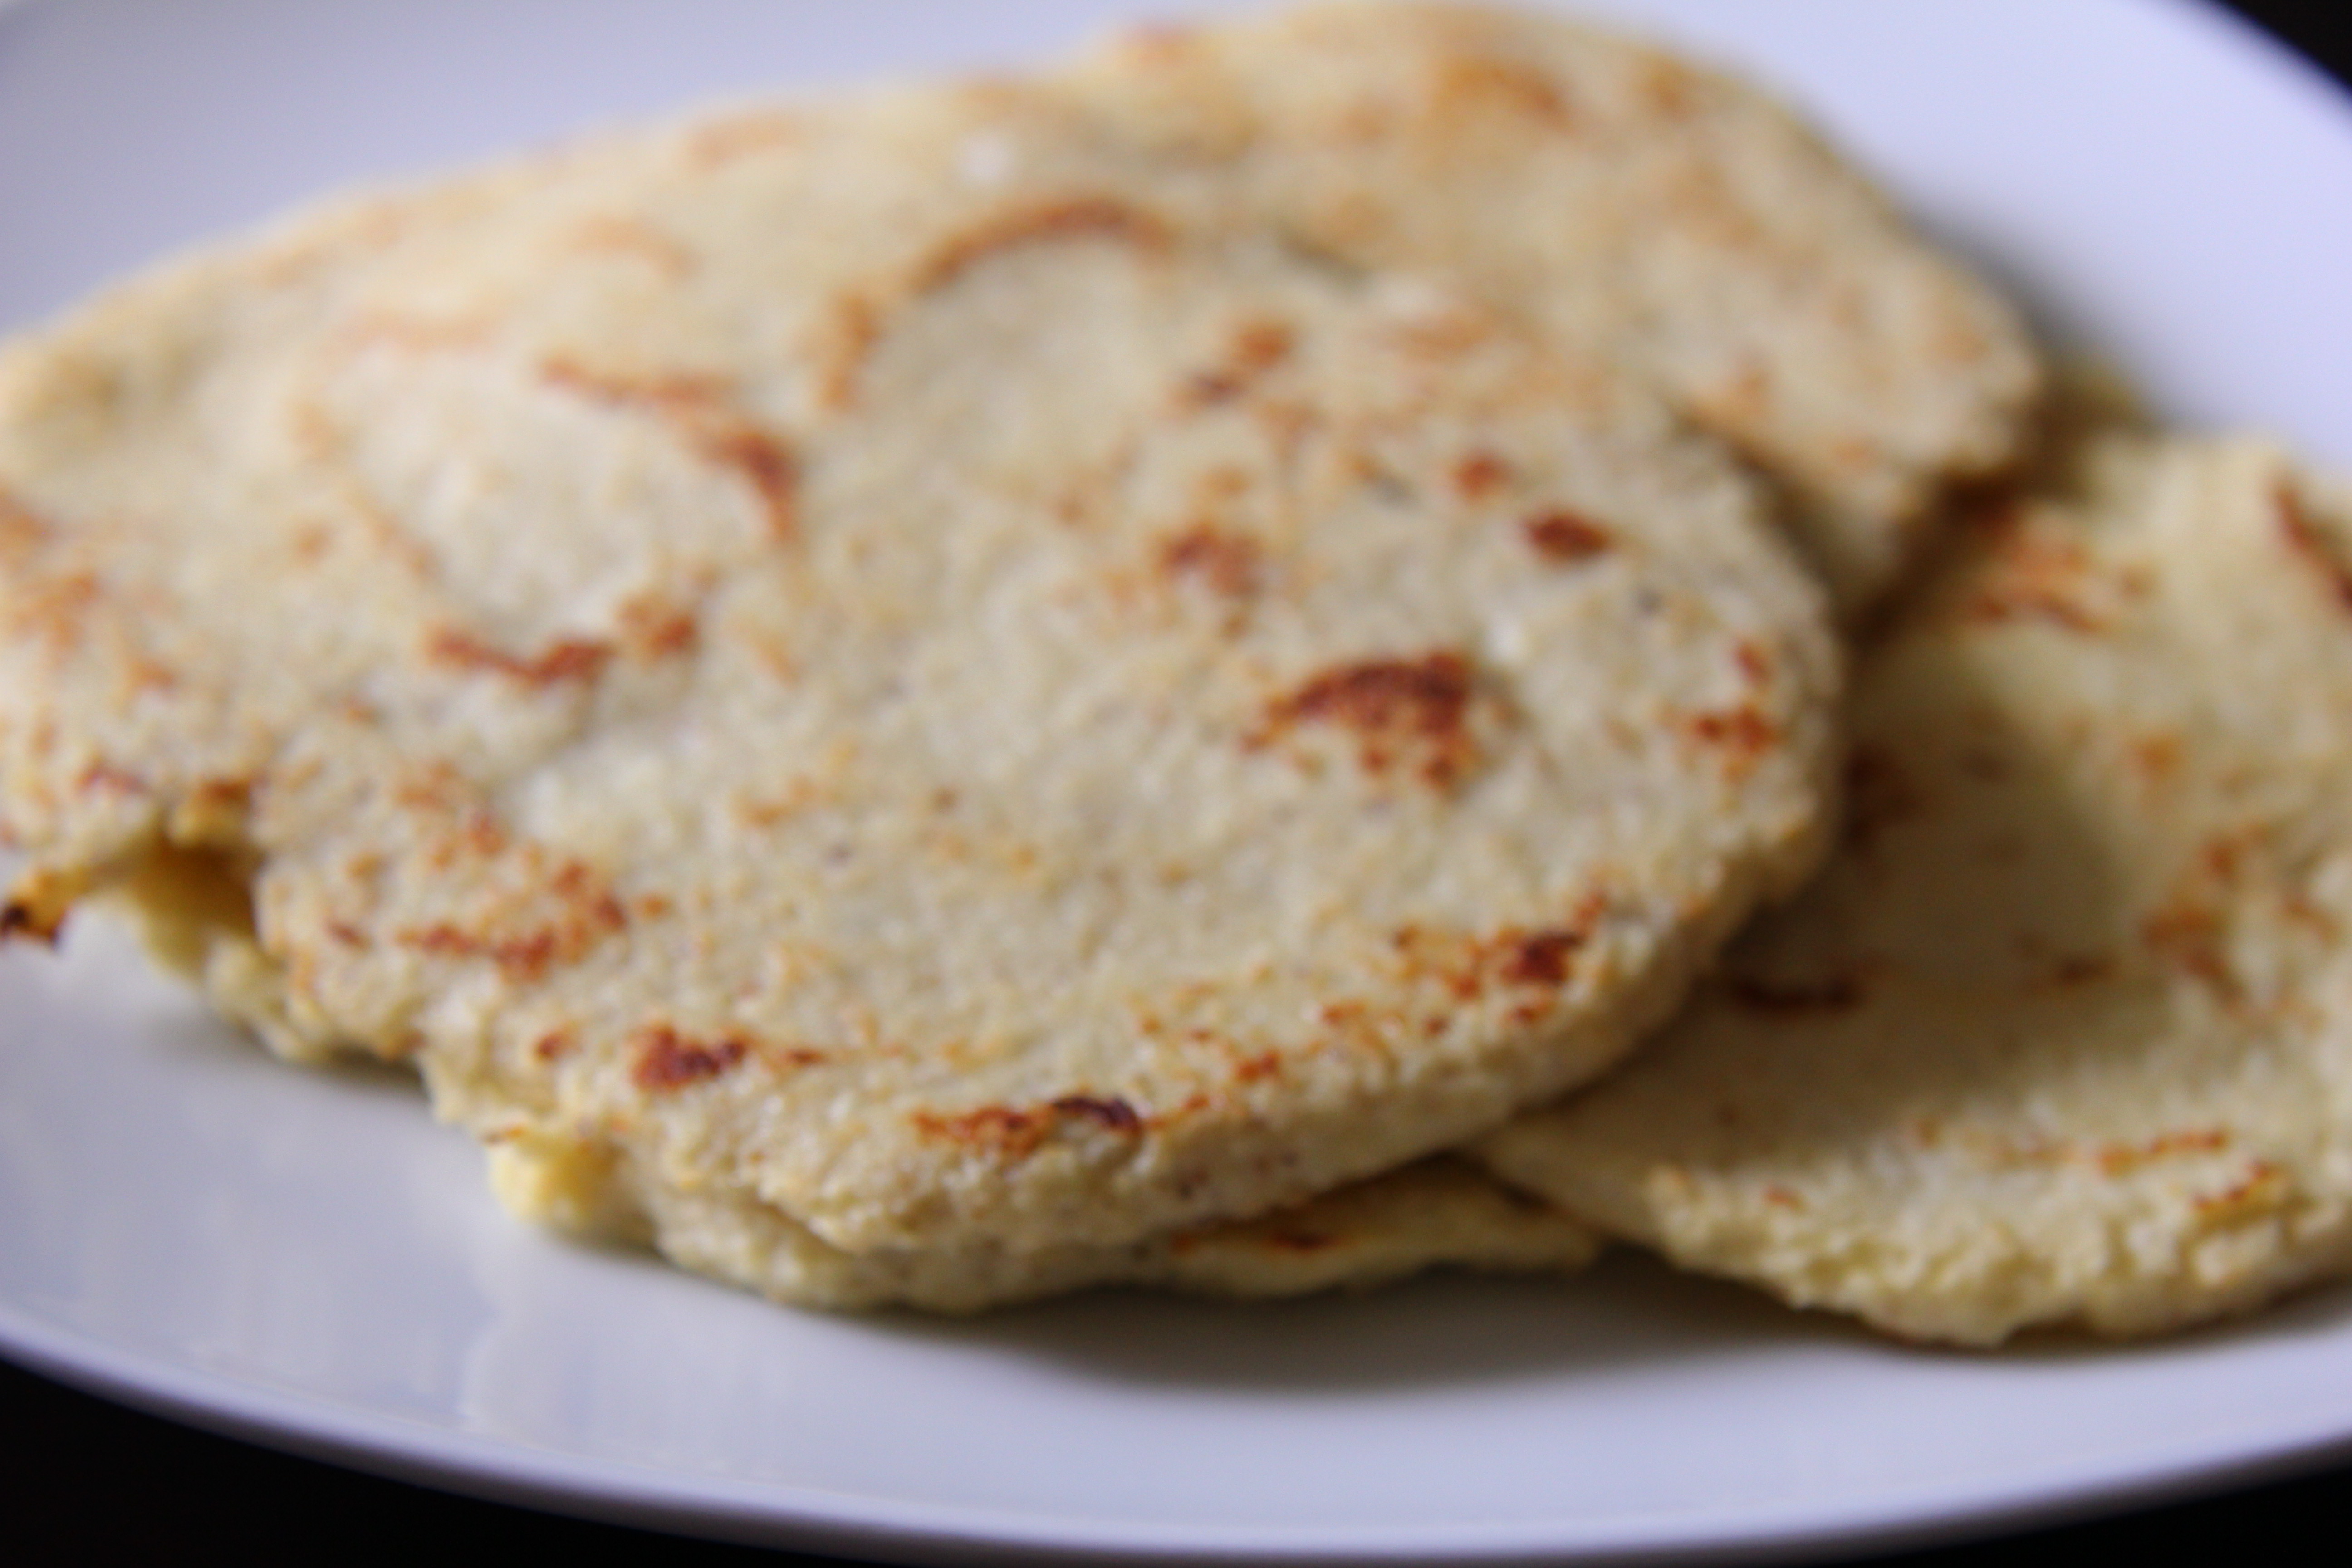
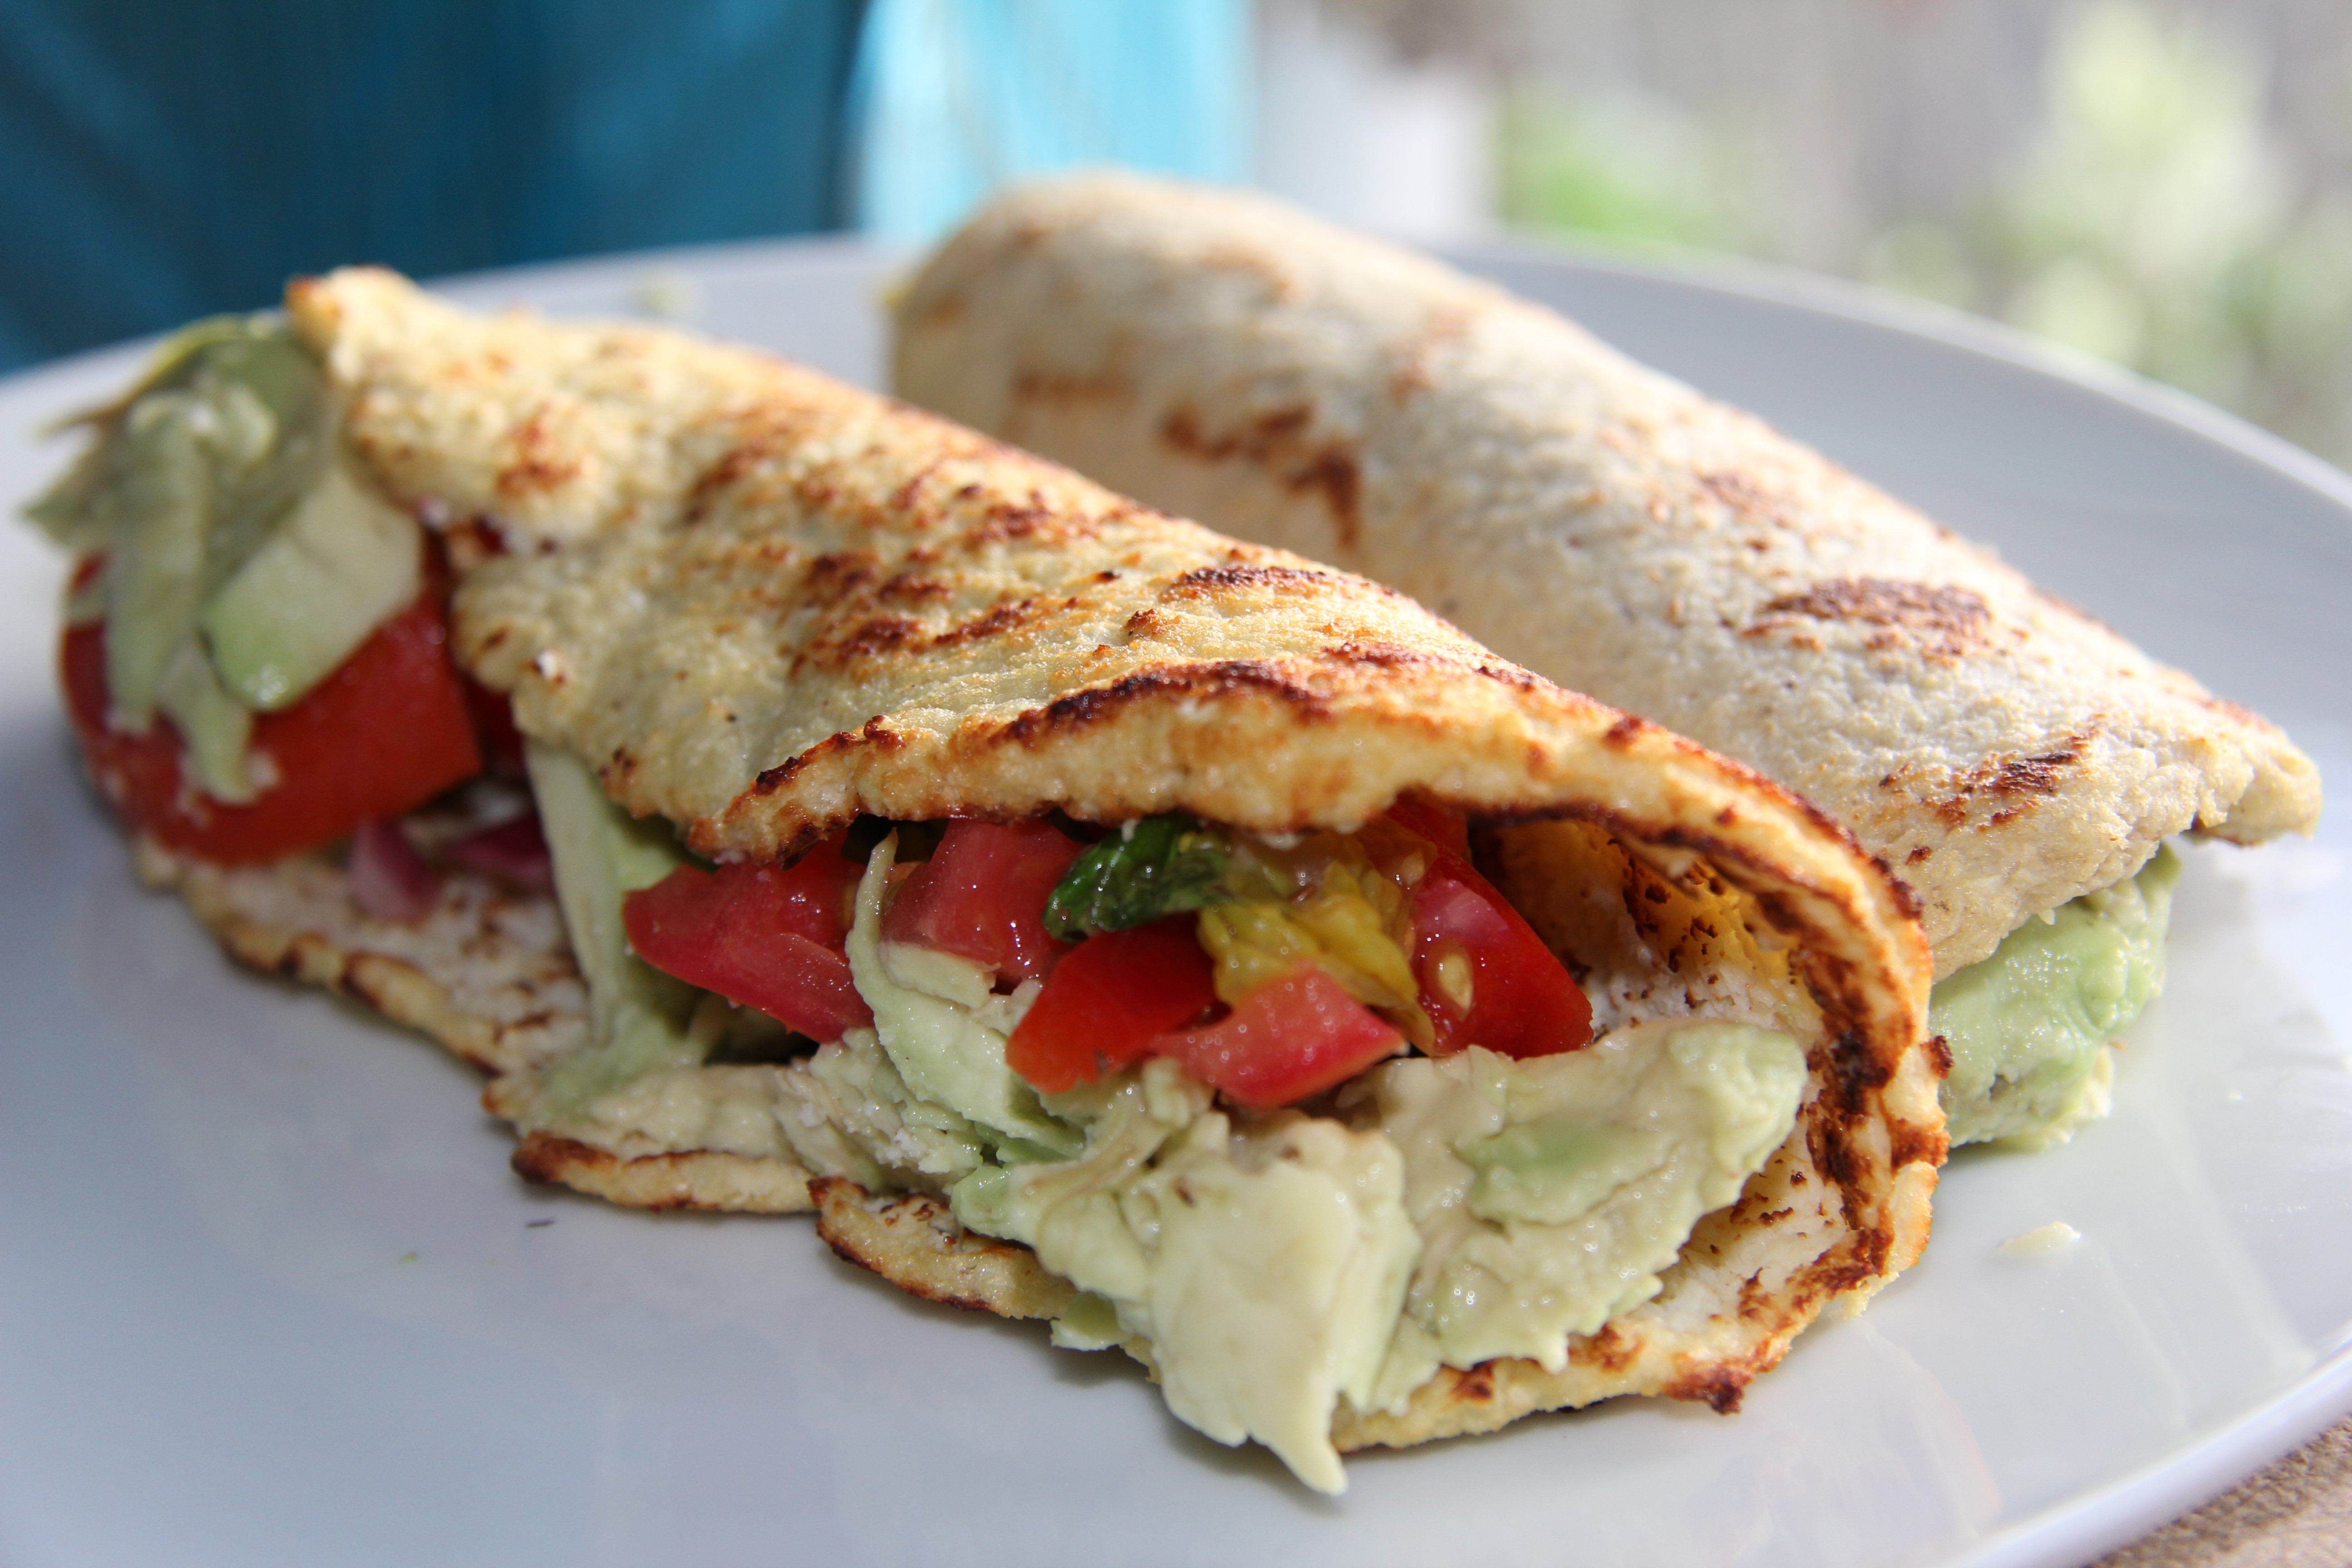
Eating vegetables can make you creative and this is certainly a creative way to eat cauliflower. Although these can be used as wraps, they are not really strong enough to be eaten with your hands, so knife and fork people! We sometimes use them as flat bread and just serve them open, slather the top with veggies or salad (and chicken for the Chief Taster). Delicious and filling and a great way to eat healthy too!
They freeze well too, so you can make up a batch in advance. My word of advice is that you really do need to get the moisture out of the cooked cauliflower. I put it through a sieve and then used kitchen towel to get more moisture out. A nut bag would be good to have but I didn't have one, so used some coffee filters instead. I cannot believe how much water came out of a bowl of cooked cauliflower that looked dry to the eye...a hard squeeze and it was like a mini waterfall!

More Low Carb Wraps
This post may contain affiliate links. Please read my disclosure policy for more information.
Cauliflower Wraps
Need Metric Measurements?
Use the button options below to toggle between US cups and Metric grams!
Ingredients
- 1 head cauliflower about 4 cups of riced cauliflower
- 2 medium eggs
- 1 teaspoon salt
- 1 teaspoon black pepper
- 1 tablespoon 9g psyllium husk powder
Instructions
- Preheat the oven to 190C/375F degrees.
- Place the cauliflower in a food processor and pulse until finely chopped.
- Put the cauliflower in a saucepan and add 1 cup of water. Cover and cook for about 10 minutes.
- Place in a sieve and press down to get rid of the water.
- Get rid of the excess water by either placing the cauliflower in a nut bag/strong kitchen roll/coffee filter and squeeze until more water comes out (it will!).
- Place the cauliflower in a bowl, add the eggs and seasoning and mix well.
- Line a baking tray with parchment paper (it HAS to be parchment paper).
- Spread the mixture on the parchment paper in large circles and smooth out the mixture.
- Bake for 10 minutes, then take out and gently flip over the wraps. Cook for another 10 minutes.
- Cool slightly then, place in frying pan (no oil) to add a golden colour.
- Eat and enjoy!
Notes
Nutrition
The information shown is an estimate provided by an online nutrition calculator.